Kids are naturally curious—it’s part of what makes being a parent so amazing. Yet, for so many kids, that curiosity seems to disappear as soon as a plate of vegetables appears. Why is it that, suddenly, the healthiest foods are also some of the scariest? Fortunately, we can fight fear with fun!
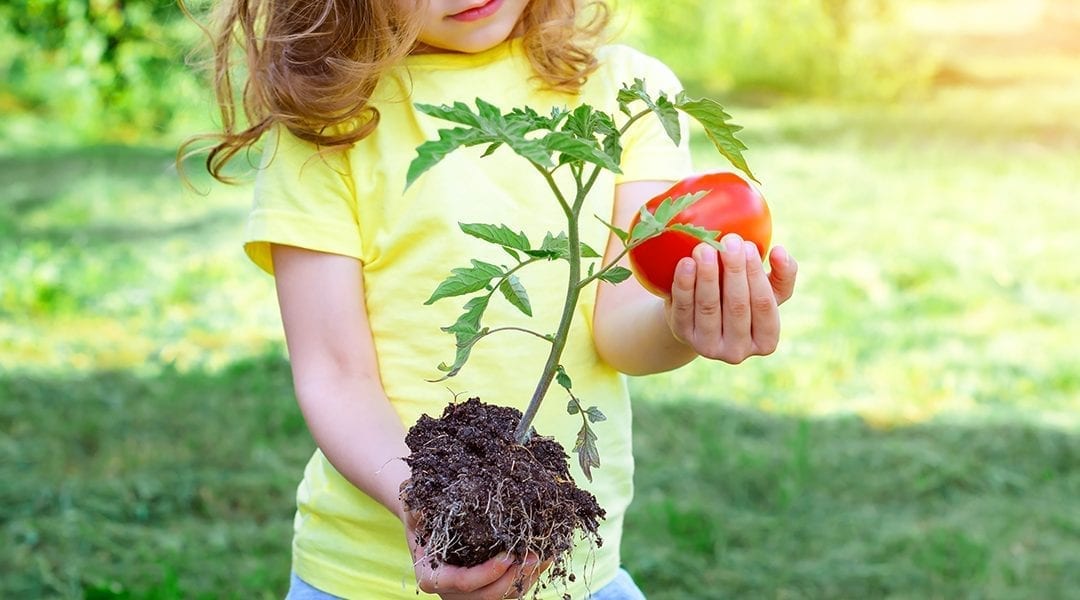
When kids experience edible gardening for themselves, they learn the story behind their fruits and veggies. Forming that connection with food before it lands on their plate helps to replace fear with familiarity. Not to mention, it’s tons of fun to play in the dirt!
These four kid-friendly edible gardening projects make fantastic outdoor activities with life-long benefits for their minds and bodies.

Egg Carton Seed Starters
Great for: Ages 3+
You’ll Need:
- Cardboard egg cartons (at least one)
- Seed starter soil mix
- A variety of easy-to-grow vegetable seeds (Try radishes, tomatoes, cucumbers, and different colors of carrots!)
- Plastic wrap
- A sunny windowsill
- Grow light (Optional but recommended)
- Labels (optional but recommended)
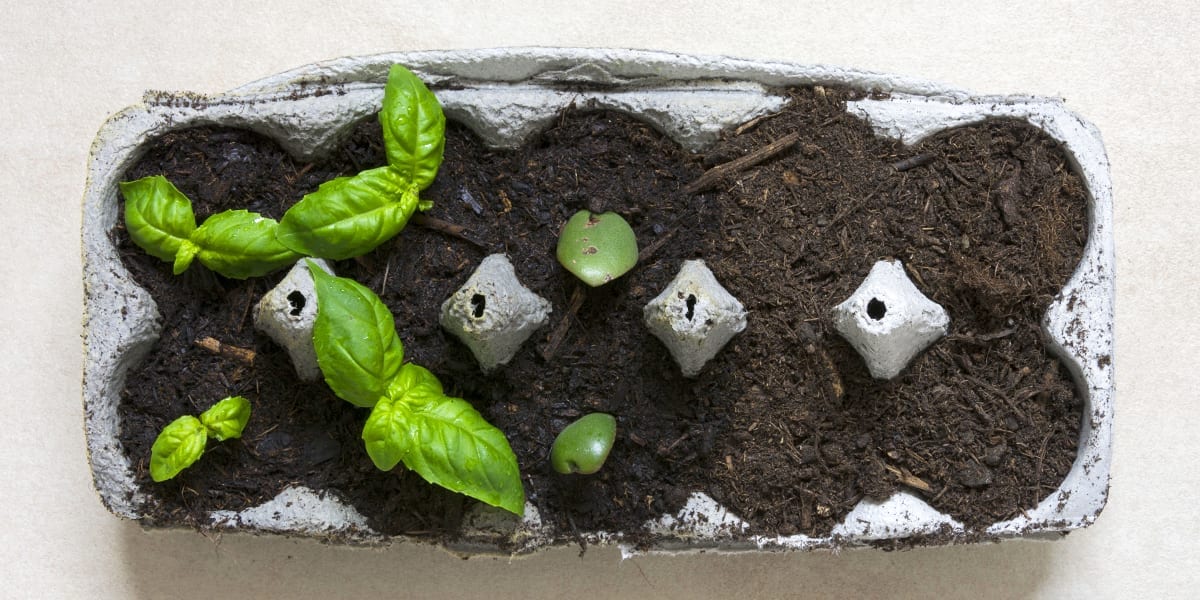
Hold onto your cardboard egg cartons for this easy and interactive activity! Even small kids with developing motor skills can use a clean plastic shovel to scoop starter mix into the egg cups. Help them out by tapping the excess back into the bag, and you’re already halfway there!
Next, work together to sprinkle seeds into the cartons. Before you plant, let your young gardener see the pictures on the seed packets and take some time to talk about what they are, and how you’ll be working together to help them grow.
Let your little one sprinkle seeds into the egg cells, and help them out by adding labels to keep track of what’s planted and where. Depending on the age of your child, you may or may not need to help them by gently adding water to the carton. Place a sheet of plastic wrap over the top of the carton and leave it on the windowsill.
Every day, check on the carton together to see if the seeds have grown. As soon as you notice little green shoots, your budding gardener will likely be very excited! At this point, you can remove the plastic and turn on the grow light, if you’re using one. Keep the light on over the carton for 12-14 hours per day—you may want to use a timer.
Check on the carton together every day, keeping the soil evenly moist with a small watering can or spray bottle. Once the seedlings have grown their second set of true leaves, you can start moving the carton outside to harden them off before transplanting in the garden. Read our seed starting guide to learn more about hardening off seedlings.
Once the seedlings are planted in the garden, your child will love visiting them in the garden and watching them grow. They’ll be proud of taking care of the veggies they grew “all by themselves” and happy to eat them too!
Potatoes in a Sack
Great for: Ages 5+
You’ll Need:
- Empty egg carton
- Seed potatoes
- Large burlap bags (approximately 3 feet in length)
- Two large bags of compost
- Tarp
If there’s one vegetable even picky eaters get excited about, it’s the humble potato! Even a sworn veggie-hater will love this easy, portable edible garden for kids.
If your seed potatoes haven’t chitted (sprouted shoots), start there. Place the seed potatoes in the egg carton and let them sit inside somewhere cool where there’s still plenty of natural light. Once the potatoes have got at least an inch of shoot on them, you can get outside and start planting!
To start, roll down the edges of the burlap bag until it’s just over a foot deep. Add about a foot of compost first, and then use your hands to create small holes about five inches deep. Then, have your kids stick the potatoes into the holes with the shoot side facing up. Get them to cover the holes with compost and add water.
Check on the “potato sack” daily as the plant begins to grow, watering whenever the compost looks a little dry. As the plant starts to leaf out and get taller, have kids add more compost and unroll the bag slightly.
Continue to do this together until the bag is fully unrolled and filled with compost, and the plant peeks out of the top. The potatoes are almost ready to harvest when the plant leaves begin to die back. Let the plant die off completely and cut it back to the soil line. Give the soil a little extra time to let the potatoes set their skins, up to a few weeks. You can dunk a hand into the compost and check on the potatoes yourself to see if they’re ready!
When you’re ready to harvest, dump the bag out onto a tarp set it down near the garden. Your kids will be amazed when tons of potatoes tumble out of the sack! Bring them inside in batches to wash in the sink, and repurpose the compost however you like.

Container Vegetable Gardening
Great for: Ages 8+
You’ll Need:
- A medium-to-large outdoor container OR a raised garden bed
- Compost
- Fresh garden soil
- Organic fertilizers (according to plant needs)
- Seeds, or edible starter plants from Platt Hill Nursery
Older, more independent kids may be ready to take care of their very own container garden! This project is all about discovery and learning what works and what doesn’t.
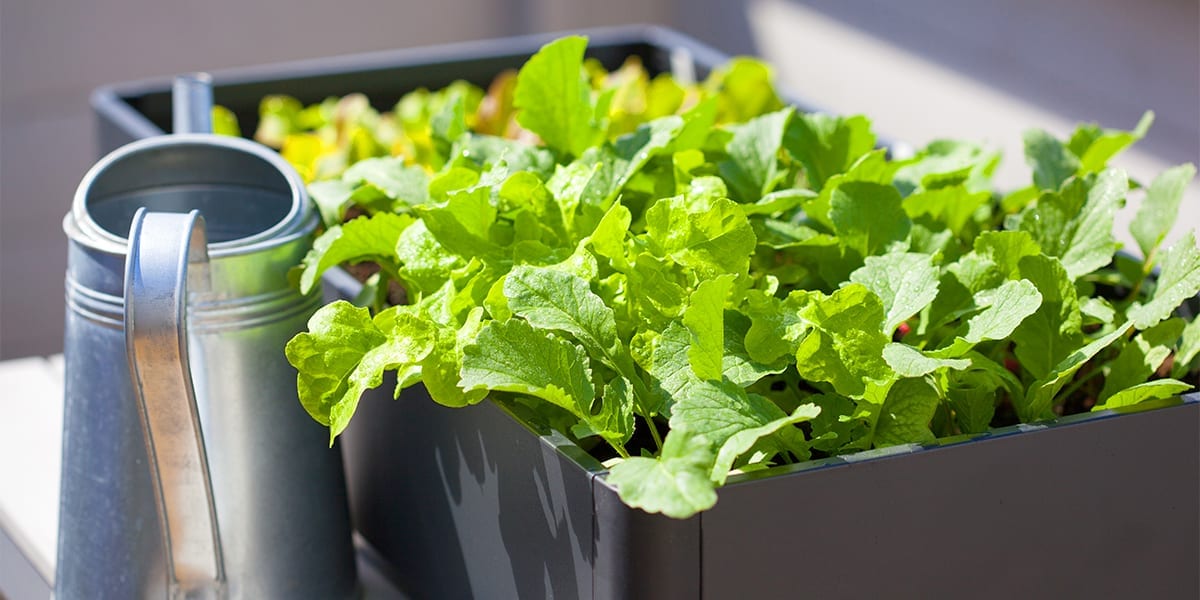
Start with a visit to the garden center and let kids pick out their own favorite berries and veggies. Cherry tomatoes, strawberries, and blueberries are popular starter plants for kids, while kids who prefer to plant from seed will love fast-growing radishes and salad greens.
When you arrive home with your plants and supplies, be clear that this container or raised bed is theirs to care for, not yours! Help your child along as needed by encouraging them to read the care instructions on the plant labels or seed packets, and demonstrating what steps to take only when necessary. Let your child experiment and make mistakes—this is the perfect time to do it!
Offer guidance if you feel it’s appropriate; some kids might appreciate a reminder when it’s time to water, and others may have questions about what exactly a “fertilizer” is. This is a great project for self-guided learning, with low stakes and an awesome reward at the end!

Windowsill Herb Garden
Great for: Ages 10+
You’ll Need:
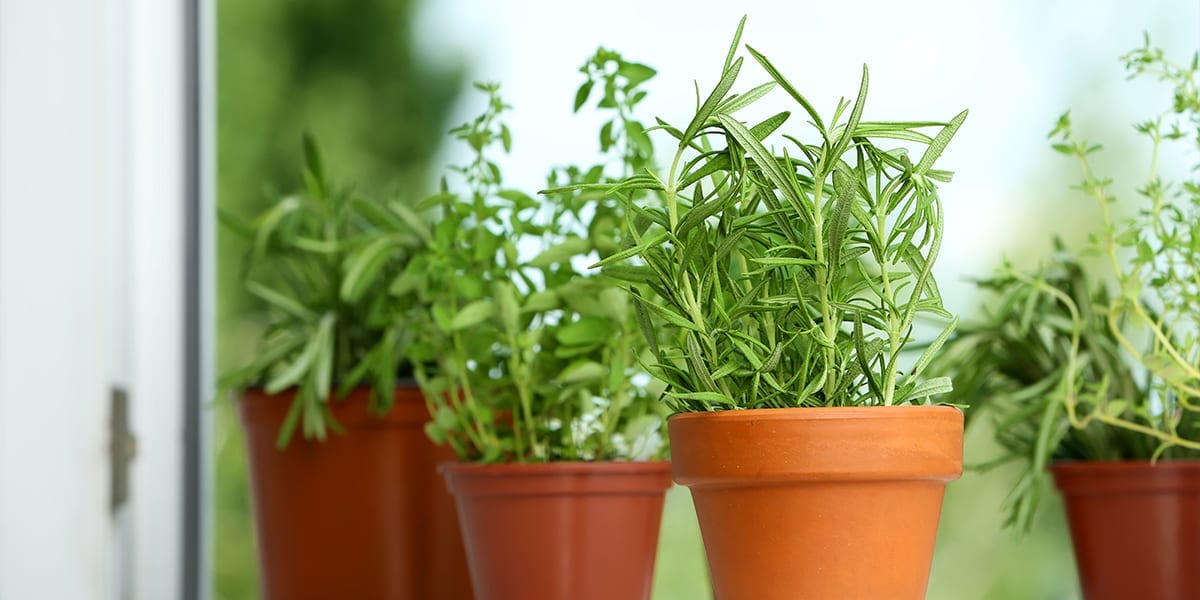
- Terra cotta pots or a long terra cotta planter
- A sunny windowsill
- Herb seeds, like cilantro, chives, dill, parsley, basil, thyme, and oregano
- Fresh potting soil
- Grow light with timer (if growing indoors)
This project is very easy, but might be a better fit for older kids who are starting to gain an appreciation for cooking. Try encouraging an interest in herb gardening by talking to your kids about the herbs you like to cook with, and how they change the flavors in your recipes. Point out how the oregano or basil in your pasta or pizza sauces make it taste different than plain old ketchup. Or, how the chives in your mashed potatoes make them extra yummy!
Decide with your kid gardener which herbs they’d like to grow. Have them go outside to fill the pots or planters with soil, plant their seeds, and add water. They can choose to grow the plants outside, if the weather permits, or indoors if it’s a little chilly. If growing indoors, help your child set up a grow light on a timer for 12-14 hours during the day.
Encourage your child to water their herbs regularly to keep the soil evenly moist, but not sopping wet. Within a few months, most of the herbs will be leafy enough to start adding to different dishes!
A lot of the fun of this project happens after the herbs are ready to use. Encourage your young herb gardener to experiment with different flavors, like adding some ripped basil leaves to a bowl of strawberries or watermelon.
Like the vegetables themselves, a taste for veggies and edible gardening needs to be cultivated. Get your kids involved early with a trip to one of our garden centers in Bloomingdale or Carpentersville. You might be surprised by how quickly your kids can learn about food, plants, and the environment—they just need someone to plant the seeds!
Platt Hill Nursery is Chicago’s premier garden center and nursery.


