Spring is here! Now that the days are warming and the soil is too, it’s time to get your garden ready for flowers and vegetables. Preparing a garden for spring may be dirty work, but it can also be refreshing. Watching your landscape come to life with fresh mulch, weed-free garden beds, and beautiful plants can help you feel good about being at home.
When Do You Start Planting a Garden?
Garden planting usually happens in spring, although some people plant gardens in the fall as well. The timing for planting in your garden depends on a variety of factors including:
- Plant species. Some plants thrive in cooler weather. Plants such as trees, shrubs, and most perennials are safe to plant at this point. Continue to monitor night temperatures for frost sensitive plants such as annuals or vegetables.
- Soil temperature. Some seeds only germinate after the soil reaches a certain temperature. Planting seeds in the ground too early can lead to a low number of seeds germinating. Pay attention to soil temperature instructions and plant only when the time is right.
Keep in mind: plants such as trees, shrubs, vines, perennials, and groundcovers are fine to plant now and are not sensitive to cold temperatures. The professionals at Platt Hill Nursery can help you pick the right plants for your yard.
8 Ways to Prepare Your Garden for Spring
Preparing your garden for spring happens in stages. Below are eight steps you can take to prepare your garden for spring planting.
1. Prep Your Tools
You’ll need fresh, clean tools for planting and preparing your garden.
- Inventory your current lawn care and gardening tools.
- Throw out any old tools that are broken or no longer serviceable.
- Clean old tools like shovels and pruning shears using a 10% bleach solution to stop the spread of fungus and other plant diseases.
- Make a list of tools you’ll need to do the work on your garden. Most likely, you’ll need spades, a shovel, gardening gloves for each person working on the garden, a hoe for weeding and turning soil, and a stool for sitting in the yard.
- Buy any necessary tools that you don’t currently own.
2. Clear Weeds and Debris
Pull any weeds and stray grass invading your garden beds. The pulled weeds can be disposed of in your yard waste or composted. Clear debris from your garden beds as well. Debris may include old sticks, dead flowers from last year and litter. When pulling weeds, remember to dig them out with a shovel or pull them out by the roots. Leaving weed roots in the soil could encourage the weeds to grow back again.
3. Prep the Soil
Soil can become compacted over the winter months. Compacted soil doesn’t always absorb water well, and can also inhibit root growth. Preparing garden soil helps set your plants up for success.
- Turn the soil to loosen it. Use a spade or a roto-tiller to get the job done.
- Amend the soil to ensure the correct pH and nutrients are available. You can test your soil to find out what the current status is, then add amendments like compost and fertilizer as needed.
4. Prune
Pruning can encourage leafy growth throughout the growing season. Spring is a good time to prune many trees and shrubs, but each plant has a specific time of year when pruning should take place.
For example, it’s best to prune early blooming shrubs such as lilacs, forsythias, rhododendrons and azaleas shortly after they bloom. Waiting too long to prune azaleas could impact flowering in the next growing season. Research each of your specific plants before pruning. A good general rule of thumb is to prune flowering plants right after they’re done blooming.

5. Build Garden Beds
If you’re starting your garden from scratch, you may need to build garden beds. Remove grass, improve soil with compost or other organic matter, and assemble beds before planting time.
Raised garden beds can be purchased from nurseries, or you can build your own. Keep in mind that each type of garden bed, whether in the ground, raised, or in a planter, requires its own type of soil.
6. Divide Perennials
Some perennials need to be divided or they may stop thriving. An example of this are irises, which can develop empty areas in the center of the plant creating a “donut” look. Dig around the plant, dig beneath the root ball, then pull it out, divide, and plant in separate spaces in the garden.
7. Plant
Once the garden has been fully prepped and the frost date has passed, it’s time to plant. Some plants, like tulip and daffodil bulbs, should be placed in the ground in fall. Most annuals can be planted any time after the frost date.
8. Lay Mulch

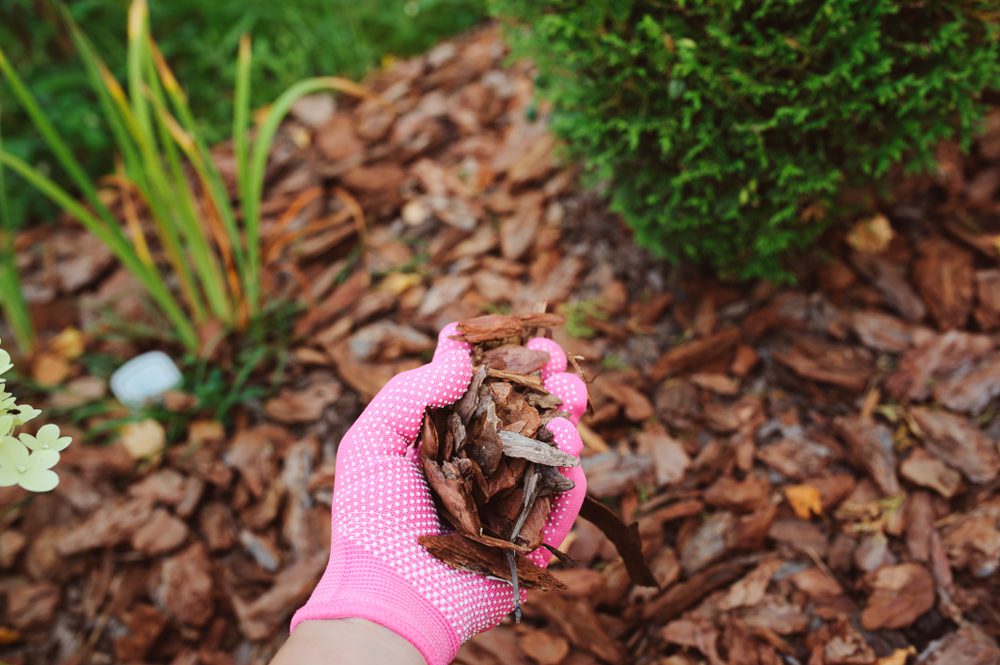
Once the plants are in the ground, it’s time to install mulch. Lay mulch over the soil to keep in moisture, shade the roots and prevent weeds from growing.
Mulch comes in different colors and can be made from different materials including wood, rocks and other materials. Mulch made from wood bark is easy to work into the soil in the following year, while rock mulch may make plant growth more difficult. Rock mulch is decorative and often looks best in a bed that’s left mostly unplanted.
Get Your Garden Started Today
Gardening is a great way to save money growing your own food, and a wonderful way to enhance your yard while boosting curb appeal. For this year’s gardening tools, help preparing garden for spring, and attractive plants in the Chicago area, stop by Platt Hill Nursery. Our professionals are here to help you turn your spring garden into a masterpiece.


