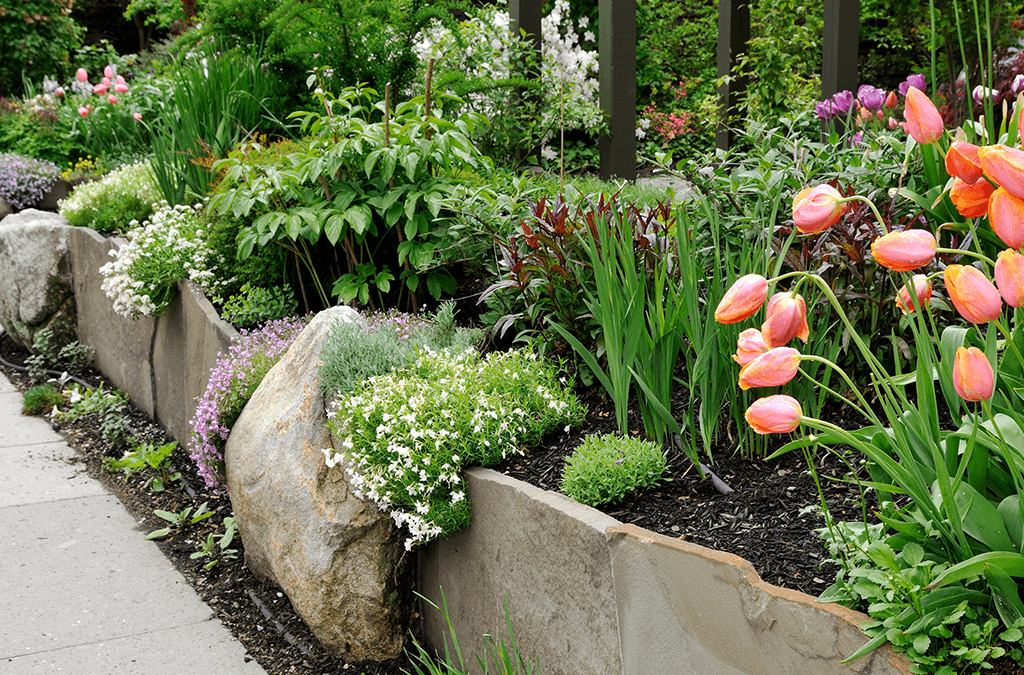
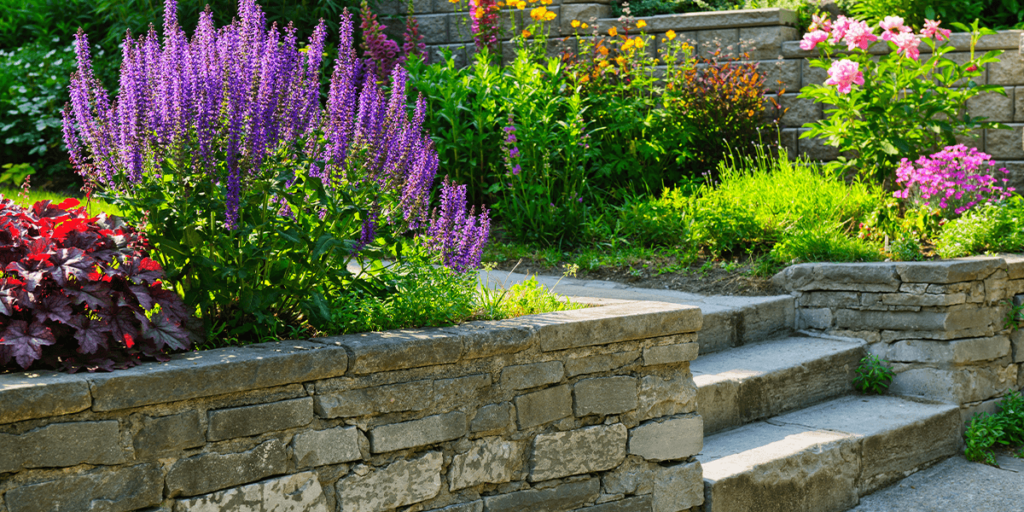
Retaining walls are functional and can also add elements of depth and intrigue to your outdoor space. This low-maintenance feature will optimize available land, provide areas of your backyard with additional support, and give your garden the look and functionality it deserves. When selecting a retaining wall that is right for you, you should consider the atmosphere you want and the purpose of the wall.
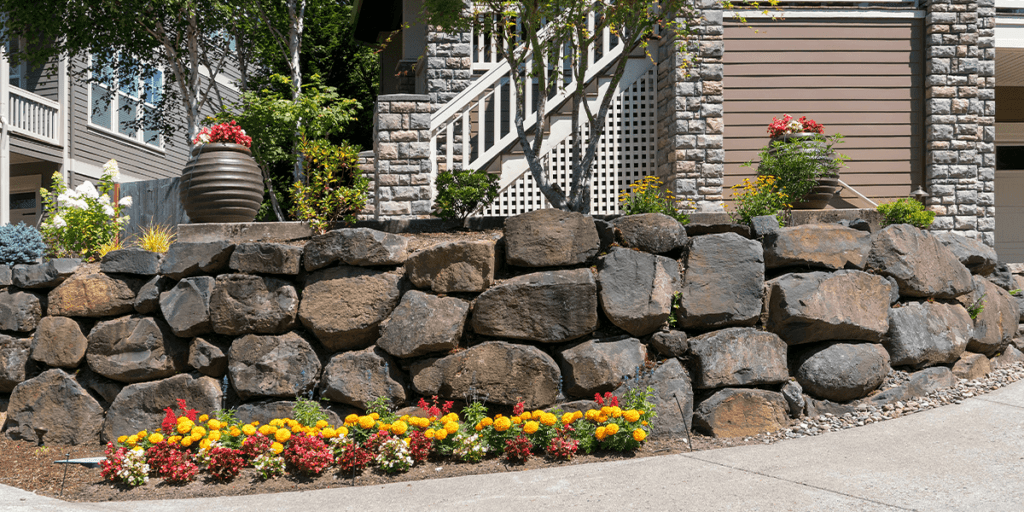
Benefits of Building a Retaining Wall
Handle Extra Rainwater
Retaining walls are an effective way to slow the flow of rainwater in your garden. Essentially, this structure prevents rainwater from pouring straight into the drain and ensures that your soil doesn’t erode, and allows water and nutrients to be absorbed more efficiently in your yard.
Make Better Use of Your Available Landscaping Space
Besides making your landscape more inviting, retaining walls can also be used to maximize your backyard space, dividing it into areas for gardening, socializing, and playing. Design your space so that you can use terraced areas for planting or construct retaining walls to surround a flower bed in front of your home.
Durable and Low-Maintenance
Retaining walls are excellent investments because they are long-lasting and easy enough to maintain that you can forget about them once installed. With durable materials such as wood, bricks, natural stones, or concrete blocks, they can withstand harsh weather conditions while providing your garden with the additional support it needs through the cold winter months. Many Chicago residents build beds out of stone retaining walls, but the cheapest and strongest walls are poured concrete, which can be colored or stained for aesthetic appeal.
How to Build a Retaining Wall
1. Mark a Layout and Dig Trench
Start by marking a line or layout to follow on the ground, which will give you a guide to follow when digging a trench for the first row of blocks. Dig your trench about twice as wide as the depth of your blocks.
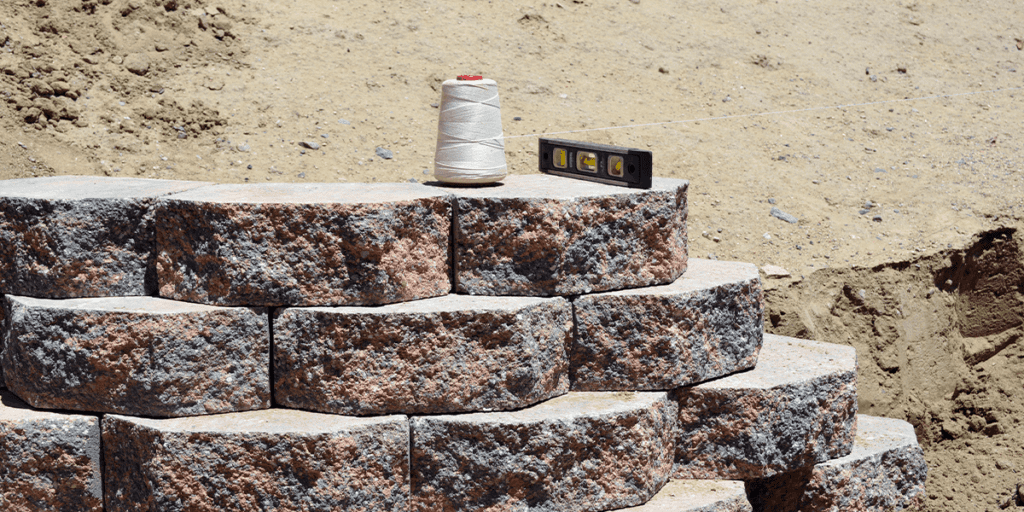
To dig a stepped trench (this is necessary if you are building your wall on a slope), use a torpedo level to create steps so that each section, including the ground itself, remains level. Proceed to add, spread, and tamp down the paver base to provide a strong foundation. When it’s all even, you will begin laying your gravel base.
2. Prepare Gravel Base
Lay your foundation of packed gravel in the stepped trench. The foundation should consist of about six or seven inches of leveled and packed gravel. A gravel base is filled row by row when building on a slope or a hill. Set the gravel base, lay the first row of blocks, and move on to the next step in your trench.
3. First Row Of Blocks
After setting the first block in place at the end of the trench at the lowest elevation point, place the subsequent blocks to lay the first row. Once you adjust the levels and ensure that everything is even, you can prepare for the second row. You should fill any space between the trench and first row blocks with gravel to provide drainage.
4. Second Row Of Blocks
Once you set the first layer, you can then install the remaining layers of blocks. Add one block at a time, staggering the seams and ensuring neat placement. Make sure there is a tight fit between blocks and no rocks or dirt between the layers.
5. Add Drainage
Once you’ve laid your rows and the final row has been sealed, lay landscape fabric behind the wall to fill in the gap behind these blocks. This time, you will use soil rather than drainage gravel as you did in the previous steps. Fold the excess fabric back, and then backfill with soil. Now you can focus on growing some plants, vegetables, and herbs in your garden.
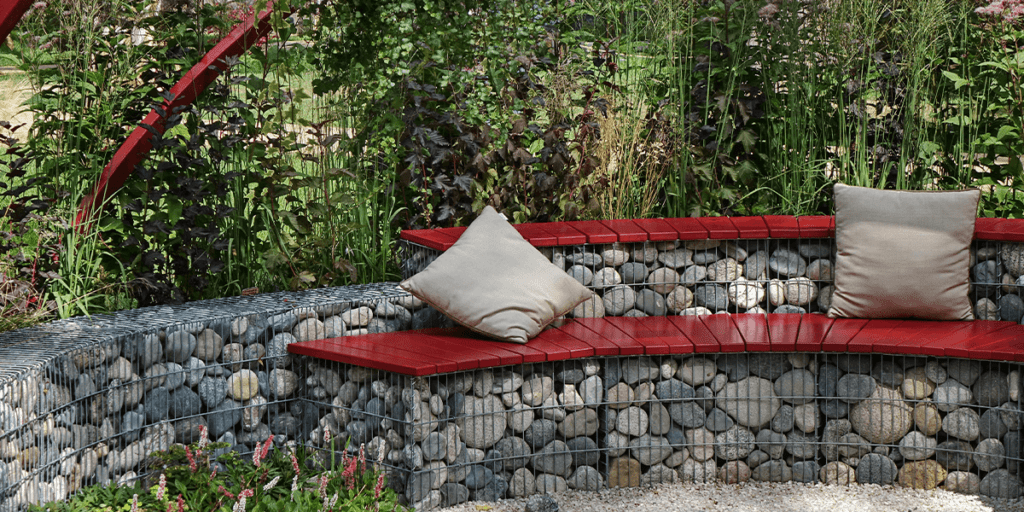
With good design and construction, retaining walls can be highly functional, space-saving, eye-catching, and low maintenance. If you’re looking for resources or help to build a retaining wall near you, visit us at Platt Hill Nursery and Platt Hill Landscaping Solutions at our Bloomingdale or Carpentersville locations.
Platt Hill Nursery is Chicago’s premier garden center and nursery.

