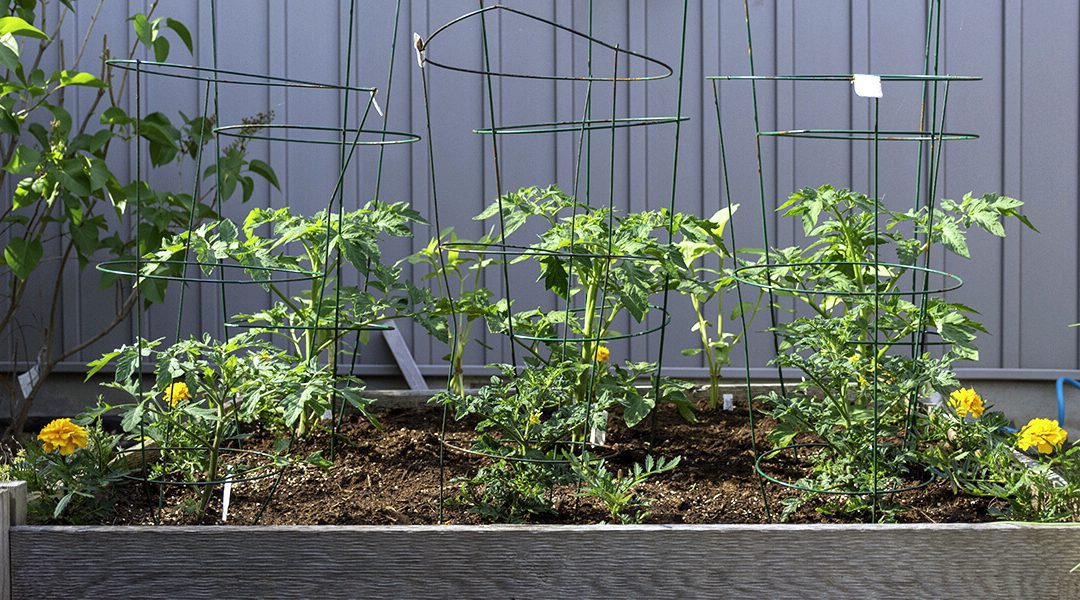
Learning how to start a vegetable garden can be one of the best investments for your health you’ll ever make, a source of fun for the family, a way to save money, and an enjoyable hobby of its own. But, if you’re on the hunt for info about how to start a garden from scratch, it’s easy to get lost in the wealth of information online. Our garden start-up guide prunes it down to the essential steps for beginners!
1. Choose a Sunny Location
How to start a garden – step one! The most important ingredient for your garden is sunshine. To have the biggest crops, choose a location that gets 6-8 hours of sun each day. If you’re stuck with part-shade, many cool-season crops—like carrots, beets, spinach, broccoli, and others—won’t mind 4-6 hours of light. Besides the sun, your ideal spot should have easy access to irrigation.
2. Create Garden Beds
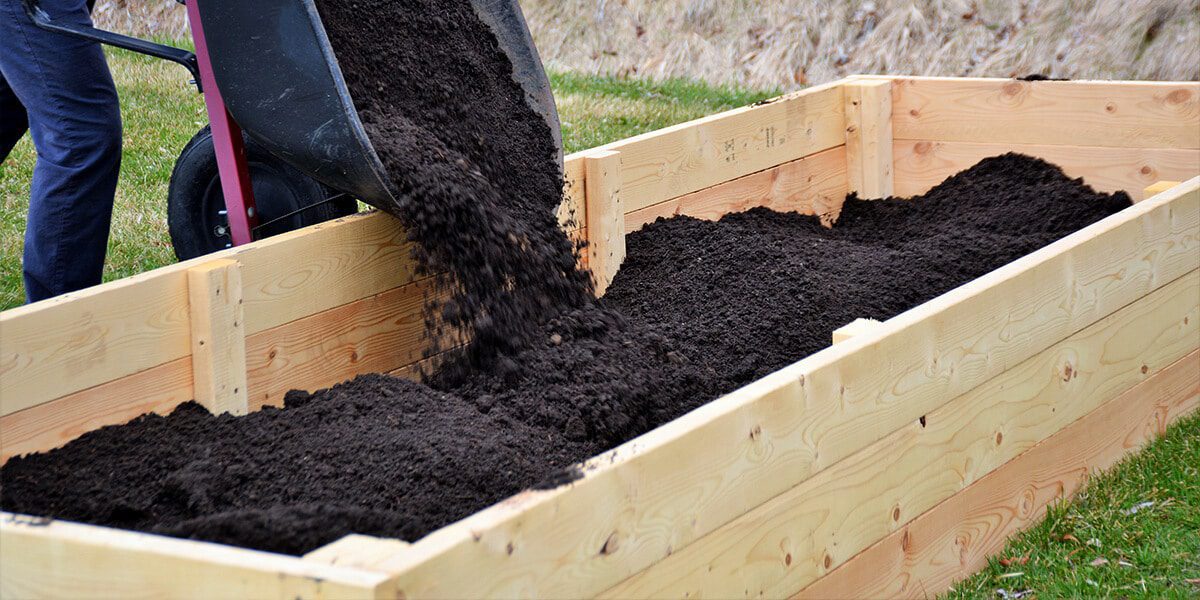
If you’re starting a garden from scratch, it usually means converting a piece of your lawn into a new garden or building raised beds. If you’re not sure how to start either kind of garden, or what the benefits are, we’ve outlined a few for you below. The choice, in the end though, is all yours!
Raised Beds
Beginner gardeners have to ask themselves whether they want raised beds or a garden right in the ground. Raised beds boast being more ergonomic, offer better protection against rodents and weeds, and have a tidier look. You can purchase them pre-made, or if you’re in the mood for a project, do a quick search online to find DIY planter box plans!
In-Ground Garden Beds
In-ground gardening has a long tradition of simplicity, better water retention, more square footage, and a cheaper start-up cost. Many people dig up sod with a spade to create a garden bed. It’s a reliable way to remove grass, but this method requires hard work. The easiest way is to smother grass with a few layers of newspaper and a 2 inch layer of mulch. The bed will be ready for planting in about 3 weeks and the best part is that your garden will already be mulched!
3. Prepare Your Soil
If you just filled in your raised beds with rich, black soil, you’re set to go. But if you start to dig up your lawn and find it has excessively sandy or clay soil, there are a few different ways that you can amend it. The most important is to add in about three to four inches of organic matter like a rich compost.
Once you have acquired your compost and spread it across your new garden, till it into the soil with a garden fork or rototiller. Once your plants are in, adding a layer of mulch around them will also help cool your soil, retain moisture, and suppress weeds.
4. Choose Your Crops
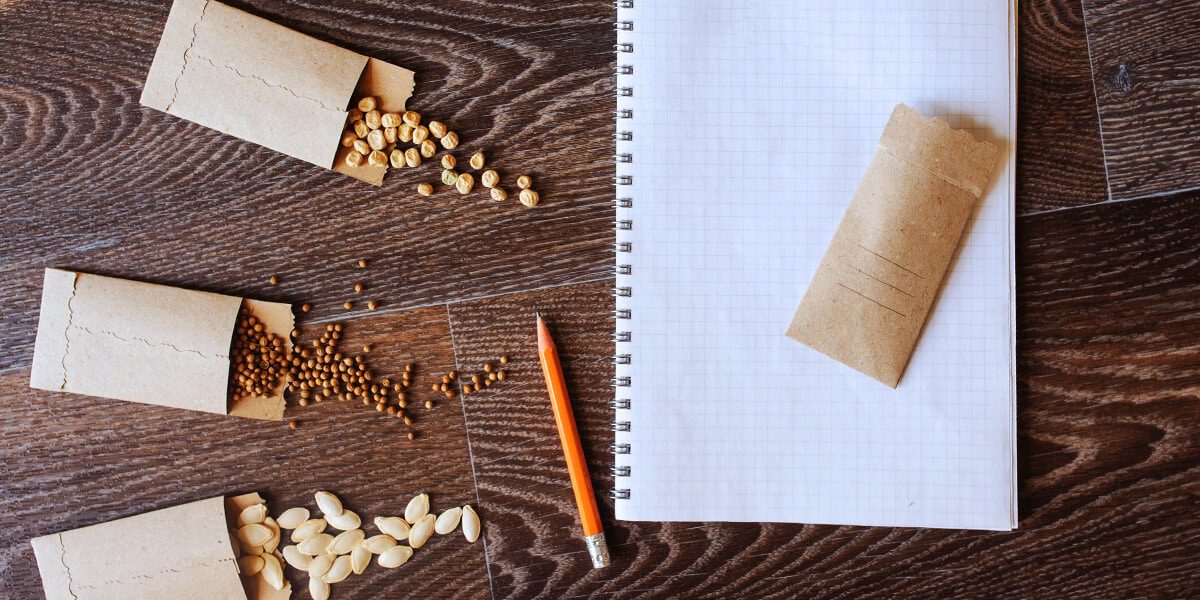
With the hard work over, now it’s time for one of the best parts of learning how to start a garden for the first time: choosing your crops. Let each family member choose their favorite vegetables. The seed package tells you how many growing days are required for each one. Keep in mind that our frost-free season extends from May 15th to October 15th.
5. Sow Your Seeds
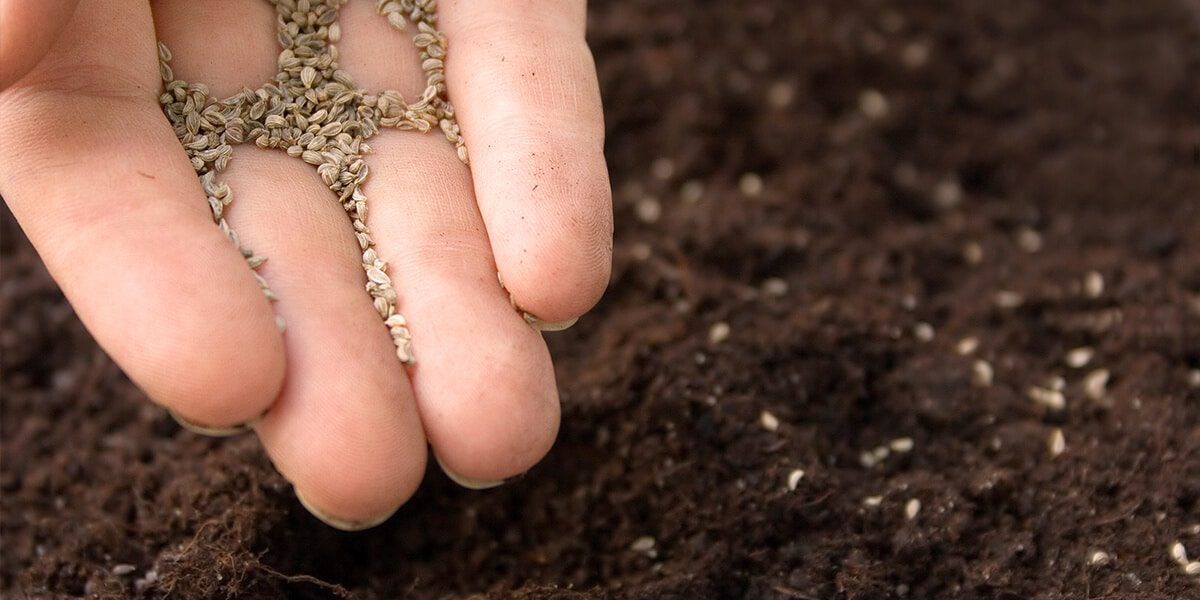
Once you’ve tilled the soil with a garden fork and smoothed the surface with a rake, you’re ready for the good part—sowing seeds. As a beginner starting from scratch, you may be wondering how deep to start them, how far apart, and in what arrangement in the garden. The seed package tells you the proper depth and spacing. Here are a few arrangement tips:
- Plant in rows and label your vegetables so you can distinguish the seedlings from the weeds.
- Create footpaths into your garden so you can weed and harvest the vegetables.
- Be frugal with your footpaths to maximize growing space: every seed only needs to be within arms reach of one footpath.
- Water the seeds every day for two weeks after sowing. Plan to have a sprinkler set up on a timer or make watering a part of your daily routine.
- Consider the idea of companion planting! Veggies like growing next to some more than others (For example, Asparagus and Potatoes are not besties).
6. Transplant Seedlings
So you’ve considered how to start your garden outdoors—but did you know you can start seeds from the comfort of your own living room indoors? It’s not too complicated to fill starter trays with soil and plant them—and you still have time.
The idea is to give certain crops a head start before the last frost date and then transplant them into the garden after May 15th. Tomatoes, peppers, cucumbers, broccoli, cabbage, Brussels sprouts, celery, and cauliflower are all good candidates. Another option is to buy transplants from your local garden center.
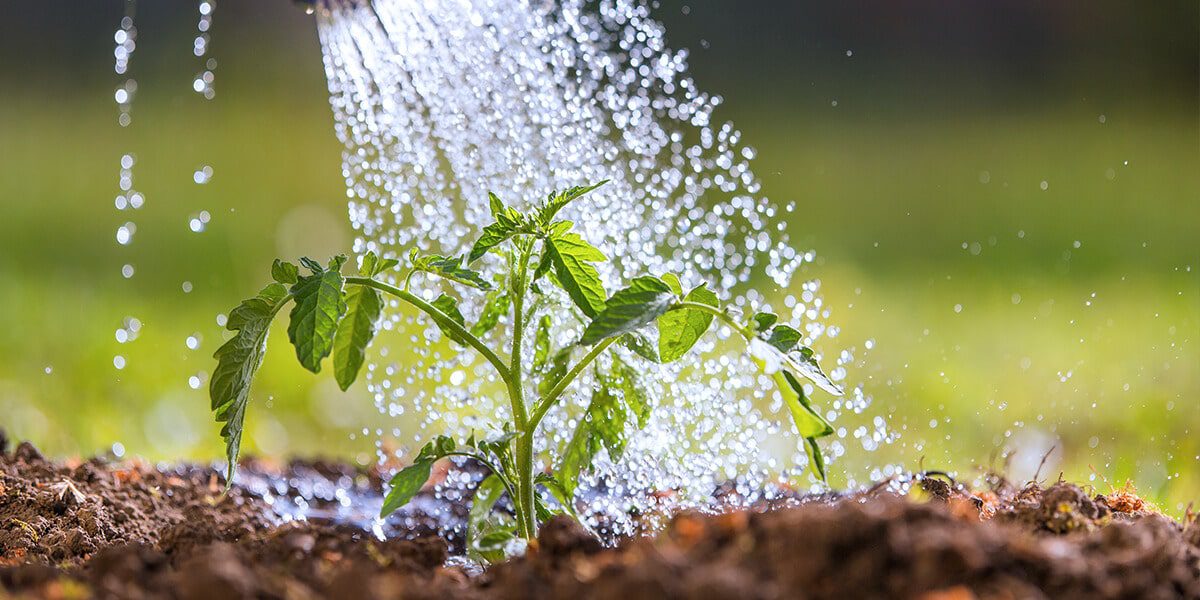
7. Watering
Once you have prepared your soil and sown your seeds, or transplanted your seedlings – celebrate for a moment! You’ve planted a garden! Now it’s time to get that baby growing. Watering is officially now your most important task.
As seeds are germinating and sprouting, they need to remain moist or they won’t survive. Typically, that means you’ll have to water them every day after sowing for two weeks or until the roots are deep enough that they retain water on their own (keep this in mind if you are starting seeds indoors as well).
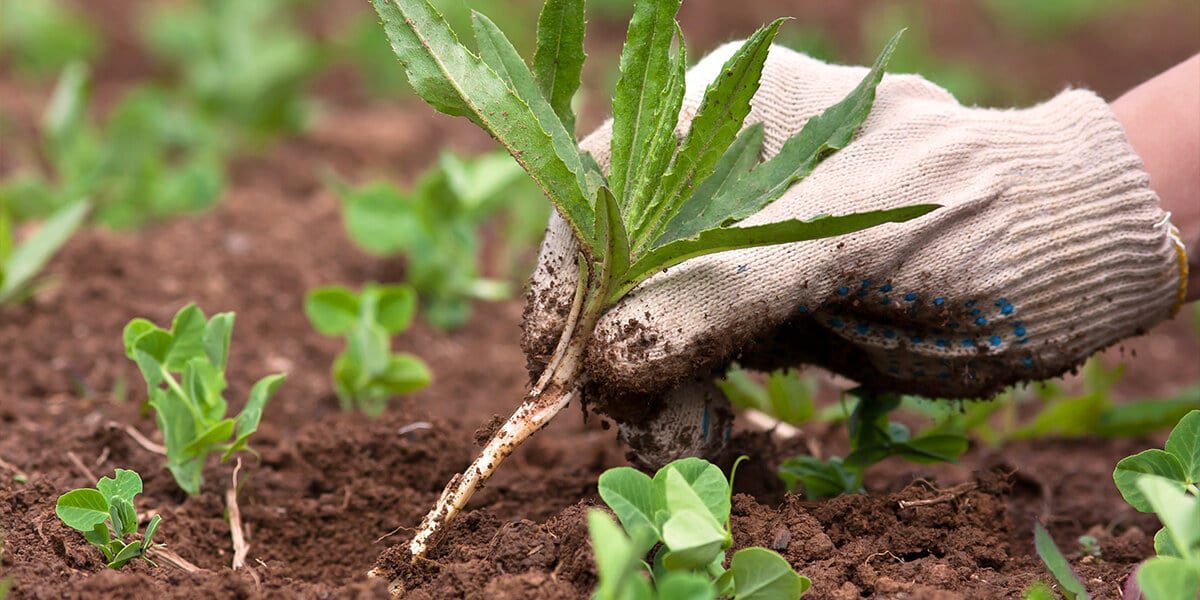
8. Weeding
The only other challenge of starting a garden from scratch is knowing how to distinguish weeds from vegetable seedlings. In the beginning stages, they can look very similar. Wait until they unfurl their first true leaves, then find a few pictures of vegetable seedlings online to help you.
Sowing seeds in a straight line also helps you know where to expect vegetables, although rain or watering can shift them. Another trait of weeds is that they often grow faster than a vegetable. Once you know how to distinguish your weeds from your vegetables, start weeding your garden regularly and continue throughout the season.
9. Thinning
Knowing how to thin your garden is the final step of any successful start-up. Many seeds, such as carrots, beets, and greens, can be planted close together. As they grow, they’ll become crowded, at which point you can thin out the weak ones and enjoy them as an early harvest. If you don’t thin carrots or beets, they’ll remain stunted and won’t develop big tubers.
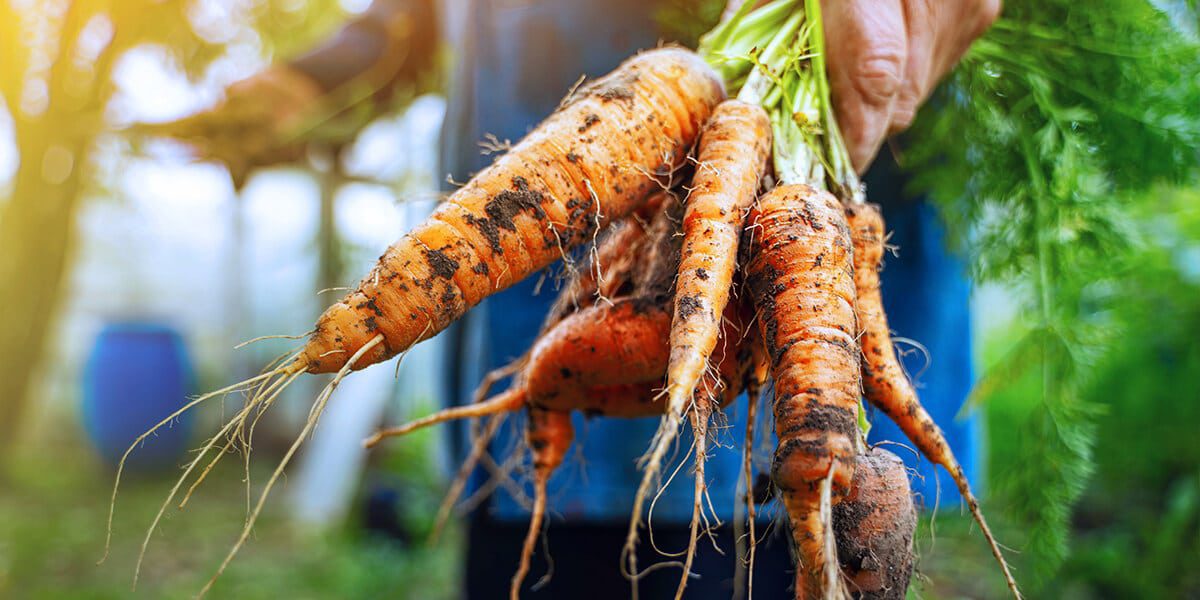
10. Harvest Time!
If you’ve made it through these steps, you’ll soon taste the rewards. But when you might ask? Seed packages tell you expected harvest dates. This information is vital for root crops like radishes, which become woody if you miss the harvest window. Greens can be harvested as soon as they look big enough to eat. A quick google search will let you know all of the gardening tricks of how to best harvest each of your crops.
At the end of the day, learning how to start a garden from scratch is pretty easy. Once you have the beds and soiled prepared, sowing and watering are straightforward and intuitive. With a bit of weeding, you’ll soon have a bountiful harvest to enjoy!
For more tips on gardening from scratch, stay tuned to our beginner gardening series, or ask the experts at our nurseries in Bloomingdale and Carpentersville!
Platt Hill Nursery is Chicago’s premier garden center and nursery.

