Hostas are a garden favorite, loved for their lush, leafy appearance and ability to thrive in shady spots. But over time, these perennials can grow quite large, crowding your garden beds or losing their vigor. The good news? You can easily rejuvenate them by dividing your hosta plants. Whether you’re looking to control their size, encourage new growth, or share with fellow gardeners, splitting hostas is a simple and rewarding task.
In this guide, we’ll walk you through how to split hostas successfully, so your garden can stay healthy and vibrant year after year.
What Does Dividing a Hosta Mean?
Dividing a hosta simply means splitting one large hosta plant into smaller sections. This process not only helps control the size of the plant but also encourages healthier growth. Over time, hostas can become overcrowded, causing their roots to compete for water and nutrients. Dividing them gives each new plant more room to grow and flourish.
Plus, it’s an easy way to get more plants for free! By dividing your hostas, you can spread them around your garden or share them with friends and neighbors.
How to Split Your Hostas
Splitting hostas is a straightforward process, but timing and technique are key to ensuring success. Follow these steps to divide your hostas with ease:
Prepare the Plant
Start by thoroughly watering the hosta a day or two before you plan to divide it. This ensures the plant is well-hydrated and makes it easier to dig up.
Prepare the Planting Sites
Before digging up the plant, prepare the new planting sites. Make sure each hole is wide and deep enough to spread the roots comfortably. This minimizes the time the hosta roots are exposed to air and helps protect them from damage.
Dig Up the Hosta
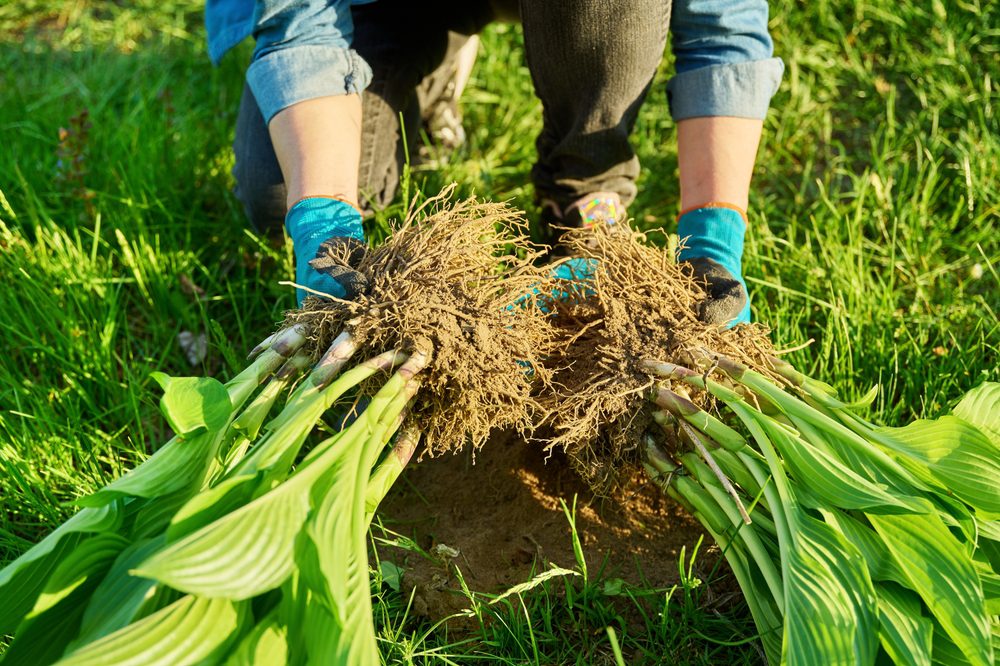
Using a sharp spade or garden fork, dig around the base of the plant, leaving a few inches of space from the outermost leaves. Gently lift the entire root ball out of the ground.
Split the Root Clumps
Shake off excess dirt to expose the roots. Use a sharp knife or spade to cut the root ball into smaller sections. Each division should have at least three to four shoots and a good amount of roots to ensure a healthy new plant.
Replant the Divisions
Immediately place each division into its new home. Fill with soil and water thoroughly to help the plants settle and establish.
How to Replant Hostas
Once you’ve split your hostas, it’s important to replant them correctly to give each new division the best chance to grow and thrive. Here’s how to do it:
Choose the Right Spot
Hostas do well in partial to full shade, so look for an area in your garden that gets some morning sun but is shielded from the harsh afternoon rays. They also prefer well-drained, nutrient-rich soil.

Prepare the Soil
Before planting, loosen the soil in the area and mix in organic matter like compost or well-rotted manure. This helps improve drainage and provides essential nutrients that your hostas will need to establish strong roots.
Plant at the Right Depth
Make sure to plant each hosta division at the same depth it was growing before. The crown (where the shoots meet the roots) should sit just at soil level. Burying it too deep can cause the plant to rot, while planting it too shallow may lead to drying out.
Space Them Out
Leave enough space between each hosta, usually about 1 to 2 feet depending on the variety. This gives them room to spread out as they grow, preventing overcrowding and competition for nutrients.
Water Thoroughly
After replanting, water each new hosta division deeply to help settle the soil and eliminate any air pockets around the roots. Continue to water regularly in the weeks following, especially during dry spells, to help the plants establish strong roots.
When to Divide Hosta Plants
Knowing the right time to divide your hosta plants is key to ensuring they recover quickly and grow vigorously. While hostas are quite resilient and can technically be divided during different times of the year, the best times are typically during their growing seasons when they can recover and establish strong roots before facing harsh weather conditions.
Dividing at the right time not only gives your new hosta divisions a better chance to thrive, but it also helps reduce the stress on the plant itself.
In the Spring
Spring is one of the ideal times to divide hostas, as the plants are just beginning their growing cycle. In early spring, you’ll see small, pointed shoots emerging from the soil. This is the perfect moment to split them because the plants are not fully leafed out, making it easier to dig them up and handle the root ball without damaging the foliage.
Dividing in the spring gives the newly separated hostas plenty of time to establish themselves in their new spots before the summer heat kicks in. With cool, moist conditions and consistent spring rains, your hostas will have the right environment to bounce back quickly after being split.
In the Fall
Fall is another great time to divide hostas, especially in the early part of the season. The cooler temperatures and increased moisture levels in the soil make it easier for the plants to recover. By this time, hostas have already completed their growing season, and their energy is directed toward building strong root systems rather than producing new foliage.
When dividing hostas in the fall, make sure to do it early enough so that the new divisions have time to establish roots before the first frost. This will help them survive the winter and come back strong in the spring.
Can You Split Potted Hosta Plants?
Yes, you can split potted hosta plants! The process is similar to dividing hostas in garden beds. However, if you’ve recently purchased a potted hosta from a garden center, it’s best to wait until the plant has been in the ground for at least one year before dividing. New hostas are generally not large enough yet to split.
For more established potted hostas, the process is straightforward. Over time, potted hostas can become root-bound, with roots circling the inside of the container and competing for nutrients. Splitting them helps refresh the plant and gives it more room to grow.

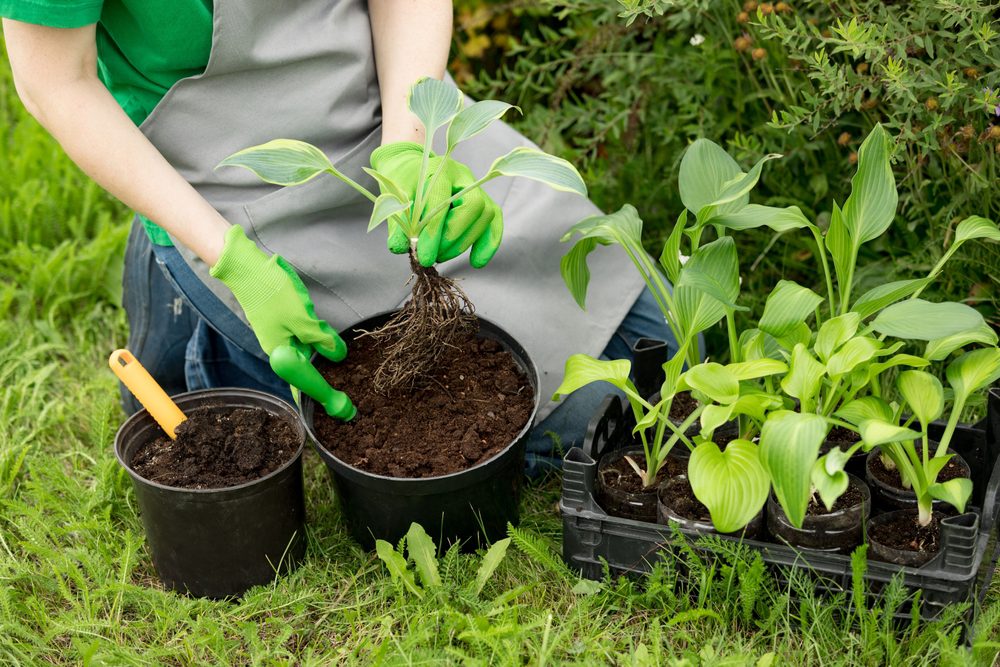
To divide a potted hosta, gently remove the plant from its pot and shake off or rinse away some of the excess soil. From there, you can follow the same steps as dividing an in-ground hosta—split the root ball, making sure each section has a healthy portion of roots and shoots, and replant them in fresh soil, either in new containers or directly into the garden.
Essential Hosta Plant Care Tips
After dividing and replanting your hostas, proper care is necessary to help them establish and continue growing strong. Here are a few basic tips to keep your hostas healthy and looking their best:
Watering
Hostas prefer consistently moist soil, especially after being divided. Water them deeply at least once a week, or more frequently during dry spells, to help them establish strong roots.
Mulching
Adding a layer of mulch around your hostas helps retain soil moisture, suppress weeds, and keep the roots cool during the summer. Be careful not to pile mulch directly against the base of the plant, as this can encourage rot.
Fertilizing
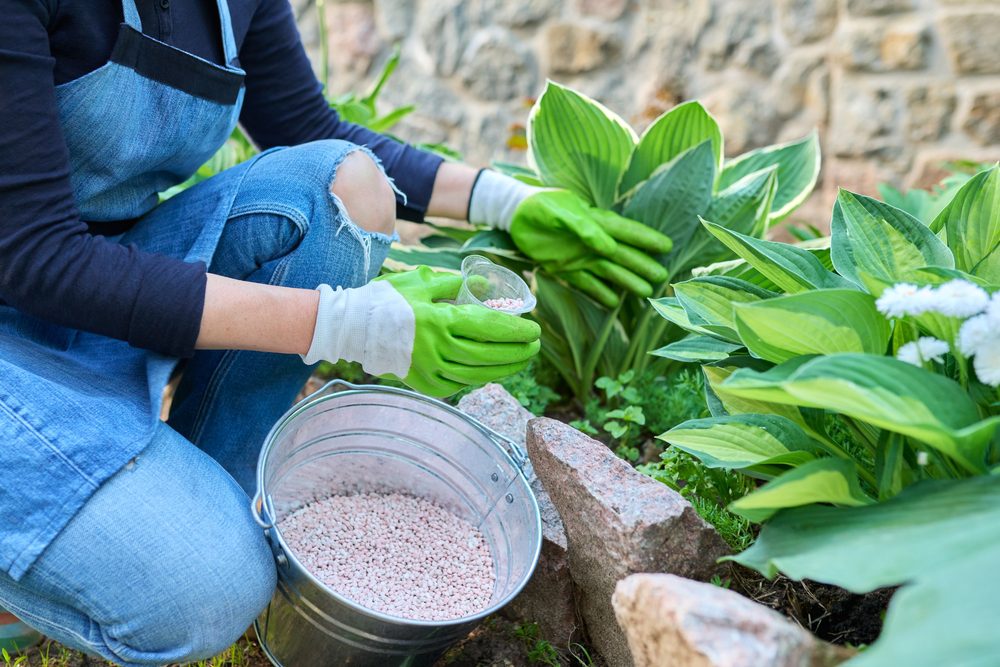
Feed your hostas with a balanced, slow-release fertilizer in the spring to encourage lush foliage growth. Avoid over-fertilizing, as it can cause leaf burn or excessive growth that attracts pests.
Pest Control
Slugs and snails love hostas as much as we do! To protect your plants, use organic slug repellents or set up barriers like crushed eggshells around the base of the plant.
Sun Protection
While most hostas prefer shade, some varieties can handle partial sun. Be sure to plant them in the right spot based on their light requirements. Too much sun can cause the leaves to scorch, while too much shade can lead to poor growth.
Find Hosta Plants at Platt Hill Nursery!
Looking to add more hostas to your garden? Platt Hill Nursery offers a wide variety of stunning hostas, from classic greens to eye-catching variegated options. Visit us in Carpentersville or Bloomingdale, or browse our online plant list to find the perfect hosta. Need help deciding? Our team is ready to assist!


